Where the Groove Goes: Measuring and Fixing MIDI Clock Drift on Linux
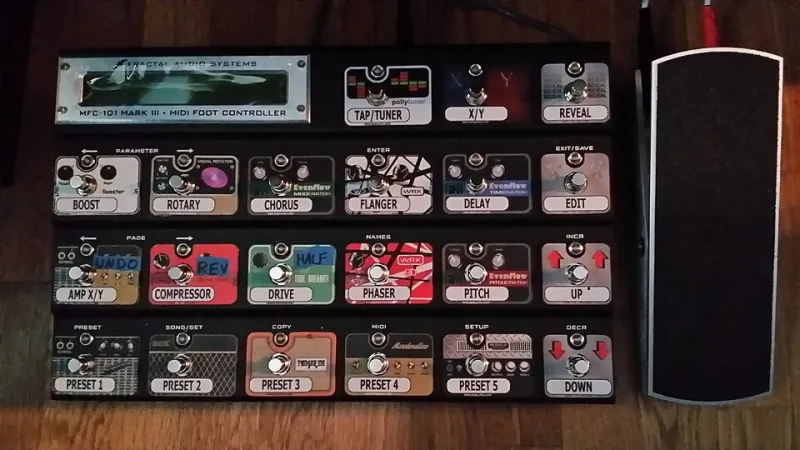
Photo: ArtBrom, CC BY-SA 2.0, via Wikimedia Commons
Here's a scene I've recreated more times than I'd like to admit. A Digitakt, a DFAM, and a laptop running Bitwig on Linux. Everything is connected. Everything is allegedly synced. And somewhere around bar 60, the hi-hats start flamming against the grid just enough that you can hear it but not quite enough to prove it.
You reload the plugin. You swap cables. You blame USB. None of that is the problem. The problem is that MIDI clock is a surprisingly loose suggestion, and most of us never actually measure how loose it gets in our own rigs.
Drift, jitter, and offset are three different things
Conflating these will waste your afternoon.
- Offset is a constant delay. Everything is late by 8 ms. Consistent, measurable, fixable with a compensation value.
- Jitter is sample-to-sample variation. Individual clock pulses land early or late, but the average stays put. Sounds nervous rather than wrong.
- Drift is cumulative. Each pulse is a hair late, and the error compounds until bar 80 is a full sixteenth behind bar 1.
Only drift gets worse over time. That's the diagnostic signature: if the track falls apart progressively rather than sounding sloppy throughout, you're chasing drift, not jitter.
Why the numbers matter more than the vibe
At 120 BPM, MIDI clock sends 24 pulses per quarter note — 48 pulses per second, one every 20.83 ms. A single sixteenth note is 125 ms. So a drift rate of just 0.5 ms per bar sounds like nothing until you're ninety bars in and your kick is landing 45 ms behind your bassline. That's over a third of a sixteenth. Audible. Annoying. And completely explained by the arithmetic.
If you play four-minute tracks, you don't need heroic precision. If you record eight-minute live takes with hardware, you absolutely do.
Build a measurement rig you can trust
You can't fix this by ear. Set up a test you can repeat:
- In your DAW, create a clip that plays a short, sharp click on every quarter note at a fixed tempo. 120 BPM is a clean number for the math.
- Send MIDI clock out to the hardware over USB. If the hardware has a headphone or main output that can be muted, route its click to a separate output and record it to its own track.
- Record 64 bars without stopping. Do not loop. Loops hide drift by resyncing at the loop point.
- Zoom in and measure the distance from the DAW's grid line to the recorded transient at bar 1, bar 16, bar 32, and bar 64.
Write those four numbers down. If they grow linearly, you have drift and you now know its rate. If they wobble around a constant, you have jitter or offset and the fix is different.
Who should be the master
This is the single biggest decision, and the answer is usually the DAW.
When the DAW is clock master, its transport is the reference and hardware follows. When hardware is master, your DAW is following clock pulses arriving over a USB MIDI interface, and USB scheduling is a genuinely worse reference than your audio interface's sample clock. Unless you're working with an older device that can't follow clock reliably — some older grooveboxes are picky — keep the DAW as master.
A middle path that gets overlooked: sync the hardware with audio-rate clock instead of MIDI clock. If your interface has a spare output, send a click track out as audio and let a modular or drum machine derive clock from that. Sample-accurate. No USB timing in the path. For modular users this is usually the answer, full stop.
JACK transport and the fine print
Ardour, Qtractor, and REAPER on JACK all handle transport through the same layer. Two things trip people up:
Start offset. JACK transport starts can land a buffer or two late because of how the transport position is communicated to clients. If every take starts with a consistent small offset, that's not drift — that's a start-latency constant. Compensate once and forget it.
Buffer size and the clock thread. With very large buffers, the MIDI clock thread has coarser timing resolution. Drop to a 128 or 256 sample buffer for tracking hardware sync, even if you mix at 1024. The CPU cost is real but temporary.
Latency compensation, honestly
Round-trip latency of 10 ms is common on USB interfaces at 128 samples. If your hardware's audio comes back into the DAW for monitoring, that return path needs compensation or everything sounds late even when sync is perfect. Measure your round trip once — a loopback cable and a single click will do it — and set the compensation value in your DAW rather than eyeballing it. Then leave it alone.
The checklist that actually fixes things
- DAW as clock master unless the device forces otherwise.
- Single MIDI interface dedicated to clock; don't split clock and notes across two paths.
- Avoid USB hubs between the interface and the machine. Straight into the port.
- Disable USB autosuspend for the MIDI device. It's a classic silent offender.
- Use audio-rate clock for anything modular.
- Record 64 bars, measure at four points, keep the numbers.
Stop blaming the plugin
The plugin is running on the grid the transport gave it. If the grid was never steady, no amount of swapping compressors will help. Measure once, write the numbers down, and the next time something feels off at bar 60, you'll know in thirty seconds whether it's drift — or just a part you don't like.